Ultimate Guide: How to Easily Set Up Your Glucose Monitoring System at Home
In today’s fast-paced world, managing your health is more important than ever, especially for those living with diabetes or prediabetes. Regular glucose monitoring is a critical part of managing blood sugar levels effectively. Fortunately, setting up a glucose monitoring system at home has never been easier. With advancements in technology, you can track your blood glucose levels conveniently, helping you make informed decisions about your diet, exercise, and medication. This comprehensive guide will walk you through the essential steps to establish your glucose monitoring system at home, ensuring that you can take charge of your health. From choosing the right devices to understanding how to interpret your readings, we will cover everything you need to know. Let’s dive into the steps and tools necessary for effective home glucose monitoring.
Understanding Glucose Monitoring
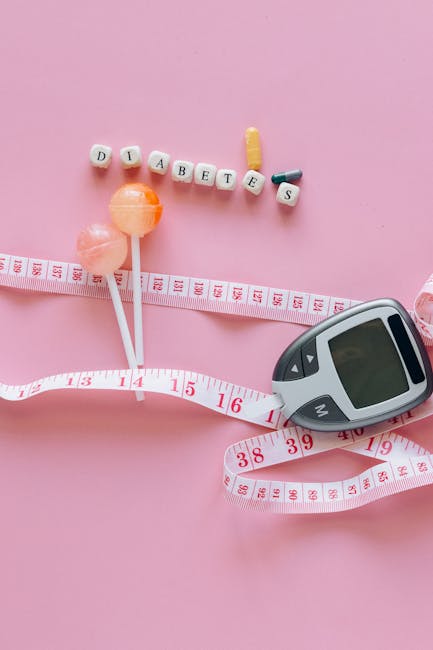
Glucose monitoring involves measuring the amount of glucose (sugar) in your blood. For individuals with diabetes, maintaining optimal blood sugar levels is crucial to preventing complications. There are various methods for monitoring glucose levels, including fingerstick tests, continuous glucose monitors (CGMs), and flash glucose monitoring systems. Fingerstick tests involve using a lancet device to prick the finger and obtain a drop of blood, which is then placed on a test strip inserted into a glucose meter. On the other hand, CGMs provide real-time glucose readings through a sensor placed under the skin, allowing for continuous tracking. Understanding how these methods work is vital for selecting the right monitoring system tailored to your needs.
Selecting the Right Glucose Monitoring Device
The first step in setting up your glucose monitoring system is selecting the right device. Consider your lifestyle, preferences, and budget when choosing between traditional glucose meters and CGMs. Traditional glucose meters are often more affordable and sufficient for those who prefer occasional monitoring. Look for features such as memory storage, data averaging, and ease of use. On the other hand, CGMs provide continuous monitoring and allow for real-time alerts when glucose levels are too high or low. Although they can be pricier, they offer a comprehensive view of glucose trends, which can be invaluable for managing diabetes. Consult with your healthcare provider to determine which device is best suited for your specific needs.
Gathering Necessary Supplies
Once you have selected your glucose monitoring device, the next step is to gather all necessary supplies. For traditional glucose meters, you will need test strips, a lancet device, and lancets for blood sampling. Ensure that the test strips are compatible with your glucose meter and check expiration dates. If you opt for a CGM, you will need the sensor, transmitter, and any additional accessories required for setup. It’s also essential to have a logbook or a digital app for recording your readings, which will help you track trends over time. Investing in alcohol wipes for sanitizing the skin before testing is a good hygiene practice, ensuring accuracy and reducing the risk of infection.
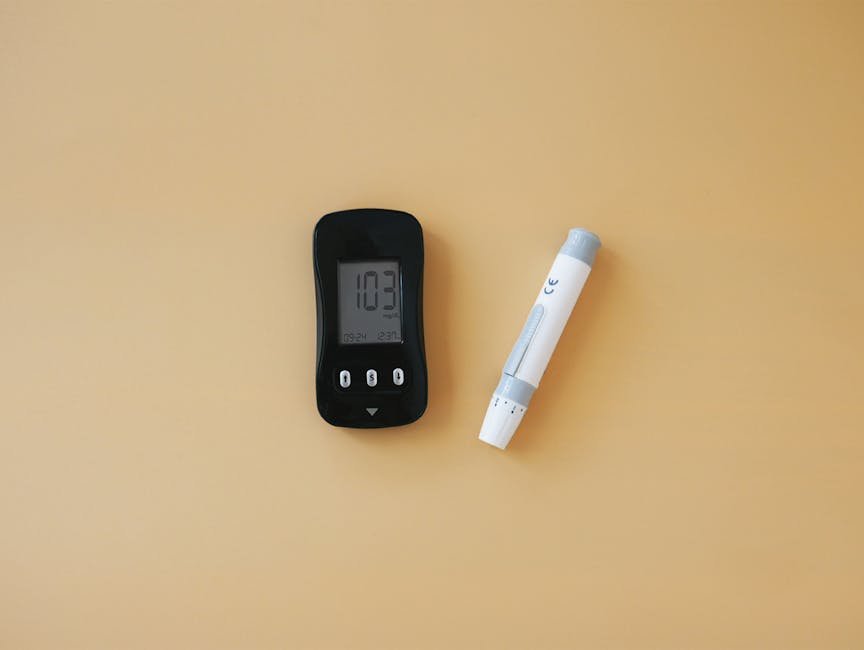
Setting Up Your Glucose Meter
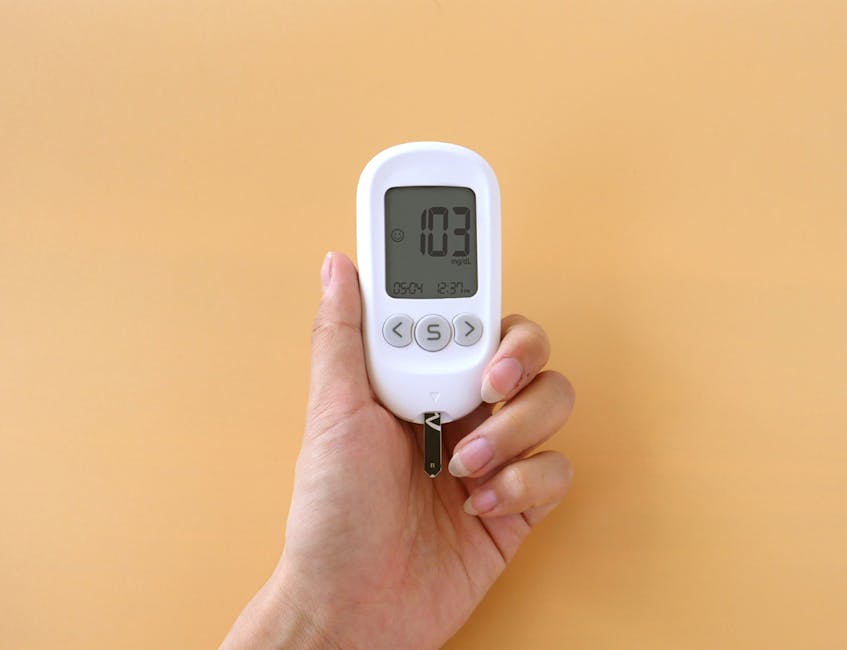
Setting up your glucose meter is a straightforward process. Start by inserting the batteries if required, and then turn on the device. Follow the manufacturer’s instructions to set the date and time, as this will ensure accurate record-keeping. Next, insert a test strip into the meter according to the instructions. Once the meter is ready, use the lancet device to prick the side of your fingertip to obtain a blood drop. Place the drop of blood on the designated area of the test strip and wait for the reading to display. Make sure to regularly calibrate your meter as recommended by the manufacturer to maintain accuracy. Familiarizing yourself with your device will enhance your confidence in using it.
Understanding and Interpreting Your Readings
Once you start monitoring your glucose levels, understanding how to interpret the readings is crucial. Normal fasting blood glucose levels typically range from 70 to 99 mg/dL, while levels above this may indicate prediabetes or diabetes. Post-meal glucose levels should generally be below 180 mg/dL within two hours of eating. Keep in mind that individual targets may vary based on personal health conditions and recommendations from your healthcare provider. Regularly logging your readings will help identify patterns, such as spikes after meals or persistent low readings. This data is invaluable when discussing your glucose management plan with your healthcare team and making necessary adjustments to your diet, exercise, or medication.
Establishing a Routine for Monitoring
Establishing a routine for monitoring your glucose levels is essential for effective management. Determine how often you need to test your blood sugar based on your treatment plan and lifestyle. Some individuals may need to test multiple times a day, while others may only need to check a few times a week. Consider testing at specific times, such as before and after meals, before bed, or during periods of illness or stress. Consistency is key; try to monitor at the same times each day to establish a reliable routine. Additionally, consider setting reminders on your phone or using a glucose monitoring app to help you stay on track. Building this habit will contribute significantly to your overall health management.
Consulting with Healthcare Professionals
Consulting with healthcare professionals is a vital component of successfully managing your glucose monitoring system. Your doctor, diabetes educator, or nutritionist can provide personalized guidance tailored to your health needs. Schedule regular appointments to review your glucose logs and discuss any concerns or challenges you may face. Professionals can help you interpret your readings and suggest adjustments to your diet, exercise, or medication based on your data. They may also recommend additional tests or referrals to specialists if necessary. Engaging with your healthcare team ensures that you remain informed and empowered in your diabetes management journey.
Conclusion
Setting up a glucose monitoring system at home is a powerful step towards managing your health effectively. By understanding the fundamentals of glucose monitoring, selecting the right device, and establishing a routine, you can take control of your blood sugar levels. Regular monitoring not only helps in making informed lifestyle choices but also supports proactive discussions with healthcare professionals. Remember, managing diabetes is a journey, and being well-equipped with the right tools and knowledge is key to achieving optimal health outcomes. With the right approach, you can successfully navigate your health journey and live a fulfilling life.